
Popcorn Removal Process Pompano Beach
Free Quote

Committed To Perfecting The Popcorn Removal & Painting Process
The 6-Step Approach To Removing Popcorn From Your Ceilings
Basically, a do-it-yourself ceiling revamping process is a 6-step process. The steps are as follows:
1. Collecting the materials needed:
Plastic Sheeting:
This will be used for covering furniture, walls, as well as floors. It has to be thick, so that it would not rip as the popcorn drops on it and as it is walked on.
- Masking Tape (Heavy-Duty): The tape has to be strong and good quality, so don’t bother about using blue tape that will not hold your plastic in place.
- Weed Sprayer: You will need some a spray tool to fill in the water and wet the ceiling.
- Scraper: This can be any kind.
- Mask: You need a mask because you should not breathe in the dust you are scraping off the ceiling
- Drywall Knives: You would require a six- and twelve-inch knife to work through the nicks and gouges that are already there and those that are created by scraping.
- All-Purpose Joint Compound: You will need a 48-pound box.
- Garbage bags: You will need more of these. You are advised to get the larger ones, at least 6 mm thick.
2. Preparing the Space:
In the preparation phase, you have to remove anything and everything from your walls, as well as ceilings. If there are plants, pets, or children, take them out of the space. Cover all your furniture with blankets and wrap them up. Starting from the ceiling, drape the plastic to the floor. Place all the subsequent panels of plastic one above the other and then, cover the seams of every panel. Now, do not forget any pathways between the rooms. Line them up.
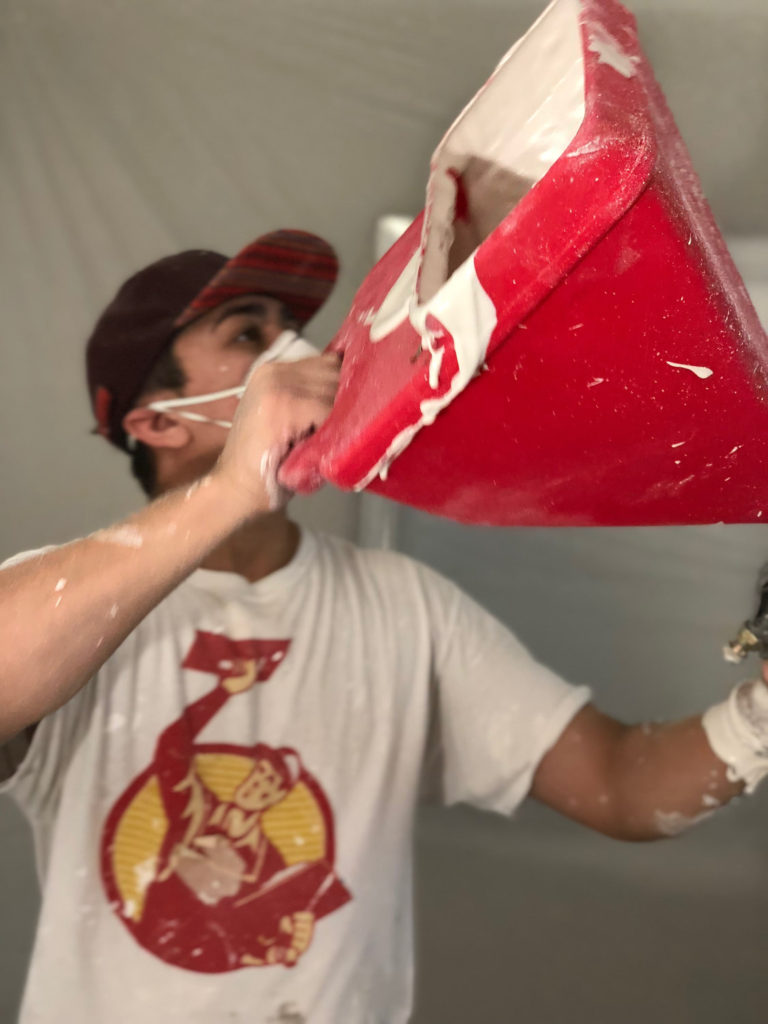
3. Removing the Popcorn:
For this, fill your weed sprayer with water and spray it all through the ceiling. Sometimes, you will have to spray through the entire ceiling space twice before you can just start scraping. Ideally, your ceiling needs to be wet and not just moist. The whole spraying process would take about twenty minutes.
Now, when your ceiling is ideally wet, you can just put on your mask, and start scrapping. While doing so, use more of a pushing action compared to pulling at perpendicular strokes. The appropriate angle for holding the scraper would be twenty-two to thirty-five degrees. This process would take around two hours.
4. Completing the Repairs:
Once you have scraped off all the popcorn from the ceiling, start evaluating the surface for cracks or under-tapped regions that require repairs. You can also check for the gouges you have recently added. Now, use your drywall knives to quick-dry smooth, and finish off the repairs.
5: Re-Texturing and Re- Painting:
Most often, homeowners will hire a professional popcorn removal company to re-texture and complete the work. The professionals would take care of any extra repairs required to make sure that the surface is properly prepared by also completing the re-texturing. Ensure that you or your company put up a high-quality primer sealer before top coating. Rather than spraying the coats, we suggest you roll. For the finish, as most homeowners do, you can also go for a flat sheen.
6: Cleaning Up:
Now, unwind the plastic from the ceiling and roll it to the inner side to have all the sludge within the plastic. Keep plastic in the garbage bags and discard it. Finally, remember that you will get 200-500 pounds of slimy sludge to handle. So, you will need some kind of assistance. For any help, feel free to call us at 954-357-2800 or reach us here. Also, you may have to check with a waste removal company to make sure that they will take your stuff.
Here is a list of the services you can get at A1A Popcorn Ceiling Removal:
There are so many areas or regions where we offer these services with most of them being cities.
However, if you need any of these services, you need to contact us. The list below comprises the areas where we offer these services.